Steps for installing your chamotte concrete oven
Discover the different stages involved in installing a chamotte wood-burning oven from the Ardente range (Le Flamme, Le Grand Flamme, Extra-Flamme, Suzette Chamotte) :
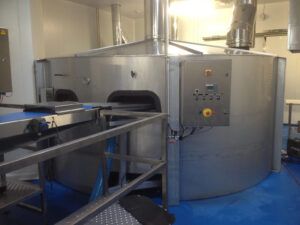
Make a stand to place the oven on
The support must be made of masonry or steel to bear the weight of the oven. We recommend installing the oven at a height of 1.20 m from the floor for comfortable handling. Of course, you should adapt this to your height and preferences.
The measurements of the support are indicated in the installation instructions according to the size of the oven. We can supply a concrete or metal support for the installation of your oven. For easier installation, we offer a turnkey package that includes the concrete support and the cover hood.
Assembling the floor
Before installing the floor on your stand, you must insert the insulation. You can then install the floor (made of one or two parts depending on the size of the oven).
Assembling the vault
Apply a strip of grout to the edge of the floor to ensure a perfect seal between the floor and the vault.
Once the first part of the vault has been installed, it is also necessary to apply grout between the two parts of the vault (for Le Grand Flamme, Extra-Flamme, and Suzette Chamotte). The grout is supplied.
We recommend that two to three people be present to install the vault.
Assembling the arch
Place the arch against the vault, ensuring that it is centred and aligned with the floor slab. You can now apply grout between the vault and the arch.
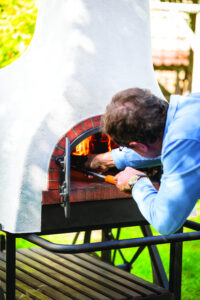
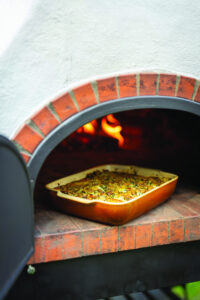
Installing and securing the exterior door
The exterior door can now be installed using the screws provided.
Installing the flue connector
The flue connector is supplied with the oven including equipment option. It can now be placed above the vault and secured with the studs provided for this purpose. The pipe connected to the flue connector must have a minimum diameter of ⌀160mm.
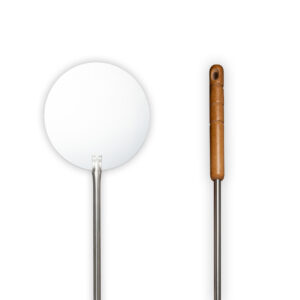
Insert the vault thermometer
There is a hole in the vault to the right of the door for inserting the thermometer. Slide the thermometer probe inside.
Insulation of the vault
The vault is insulated in two stages: first, a layer of high-temperature mineral fibre is applied, followed by a second layer on top for excellent thermal inertia. Once this stage is complete, everything must be sealed with the aluminium adhesive provided in the assembly kit.
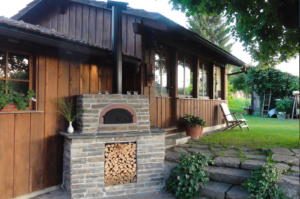
Cladding of the oven
The oven is now fully assembled. The next step consists of installing a cover for the oven to improve its appearance and provide better protection and durability (for outdoors installation).
There are several options available for covering the oven:
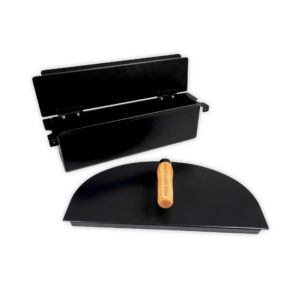
- Our available covers: the Suzie shell and base, the dome shape cladding, the hood, and the Nestor designer cover.
- Cladding installed by you (stone, brick, metal)
Find more tips and advice in the section: Our advice.