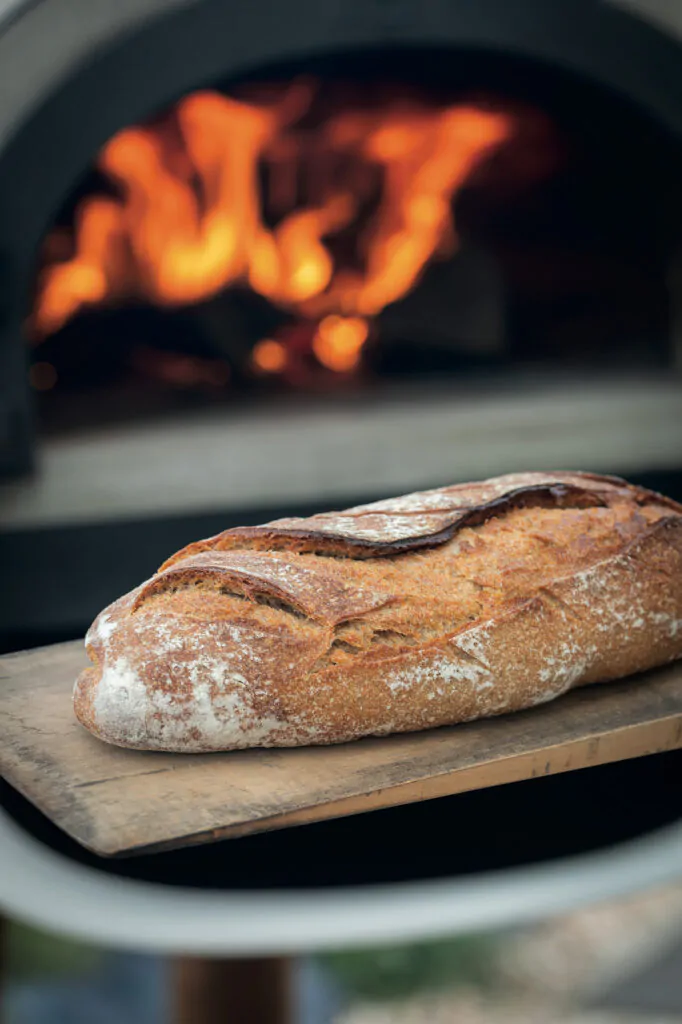
Baking bread in a wood-fired oven

This wood-fired oven bread recipe is primarily for beginners. The goal is to successfully bake your first homemade bread, even if you don't (yet!) know the lingo of baking.

If you are already more experienced, we rather suggest you try our recipe for farmhouse bread.

Preparation of the leaven yeast

The ingredients

You will need:

T65 flour, a semi-complete "all purpose" flour.

Spring water at room temperature (between 20 and 25°C).

A jam jar with a screw-on lid or a canning jar with a seal like the one our grandmothers used

Step 1: preparation of the leaven yeast

In baking, a distinction is made between sourdough or mother leaven on the one hand, and refreshments on the other. From a single sourdough, you can obtain multiple refreshments each time you want to bake bread again. Sourdough is a living product, composed of yeast and bacteria that live together in perfect harmony. With each refreshment, you "reseed" this preparation, which will in a way "reproduce" itself.

You should make your first sourdough starter at least one week before the day you are going to bake your bread.

To do this, simply mix 50 g of flour with 50 ml of water. Pour this liquid into a pot or jar and close it carefully.

Step 2: making the refreshments (every 12 to 24 hours)

This step must be repeated every day for at least 1 week before the bread is baked.

Weigh the leaven obtained when making the head leaven and remove half of it.

Add half its weight in flour and half its weight in water.

Mix well.

Put the resulting dough back into a jar and leave at room temperature, between 20 and 25 °C.

The next day:

Weigh the leaven and remove half of it.

Add half its weight in flour and half its weight in water to the remaining leaven.

Repeat the operation in the same way on the following days until the day you prepare your bread. After a week of refreshing, your sourdough will be full of little bubbles and have a sour smell, a bit like the smell of vinegar or raw sauerkraut.


On the morning of the big day, repeat the operation to make a final refreshment:

Weigh the leaven obtained the night before.

Add half the flour and half the water and mix well.

Let this preparation rest again in a jar at room temperature for 6 hours.

How to make and bake sourdough bread

This part is largely inspired by the recipe for sourdough bread for beginners by Cédric Hervet, administrator of the Facebook group Pain au levain and Co.


The ingredients

To obtain 2 breads, you need:

600 g of T65 flour

100 g of liquid leaven

36 cl of spring water

8 g of salt.

Do you have any leaven left? Use it to make pancake dough, pizza dough, brownies, crackers for aperitifs, or even sandwich bread. To do this, add 100 g of leave, to the baking powder, and remove 50 g of flour and 50 g of liquid (water, milk, etc.). For example, to prepare this recipe for sandwich bread, instead of using 1 kg of flour and 600 g of milk, you will "only" use 950 g of flour and 550 g of milk.

Think about it, this tip is very useful for adding softness to your preparations!

Step 1: preparing the bread dough

Pour the liquid leaven and water into a large bowl and mix well. The consistency is now very liquid.

Pour in the flour and salt all at once. Be careful not to mix the salt and sourdough together directly, as this will destroy the ferments!

Mix the mixture by hand for 5 to 7 minutes or in a food processor on speed 1 for 2 minutes.
Flour the work surface and wet your hands to make it easier to remove the dough from the mixer or the bowl (if you are kneading by hand).

"Roll the dough into a ball and squeeze it a little between your hands.

Leave it to rest in the bowl covered with a clean damp cloth or cling film.

Leave the dough in a room at 20-25 °C for 10 hours.

Please note: bread dough is a material that is very sensitive to temperature variations. It is therefore best to shape your bread on a plastic or wooden work surface, avoiding "cold" materials such as granite and marble. Even at room temperature, these natural materials can cause thermal shock when they come into contact with the dough.

Similarly, if your oven is installed outside and the temperature is below 22°C, it is strongly recommended that you cover your bread with a cloth or place it in an airtight box with a lid until you put it in the oven. By doing so, you prevent any thermal shock that would harm the proper rising of your bread.


Step 2: Preparing the  breads or loaves
After 10 hours of rest, divide the dough in 2 to form the 2 sticks. Place them in 2 clean (without fabric softener) and floured cloths. Finally, fold the cloths over the 2 pieces of dough and leave them to "rise" for 45 minutes at room temperature at 20-25 °C


Step 3: Baking bread in a wood-fired oven

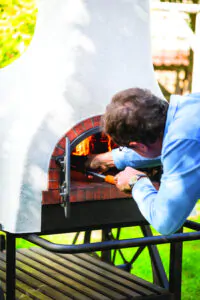
Have you just bought a wood-fired oven and are still wondering how to use it? First of all, read our advice on how to use a wood-fired oven.

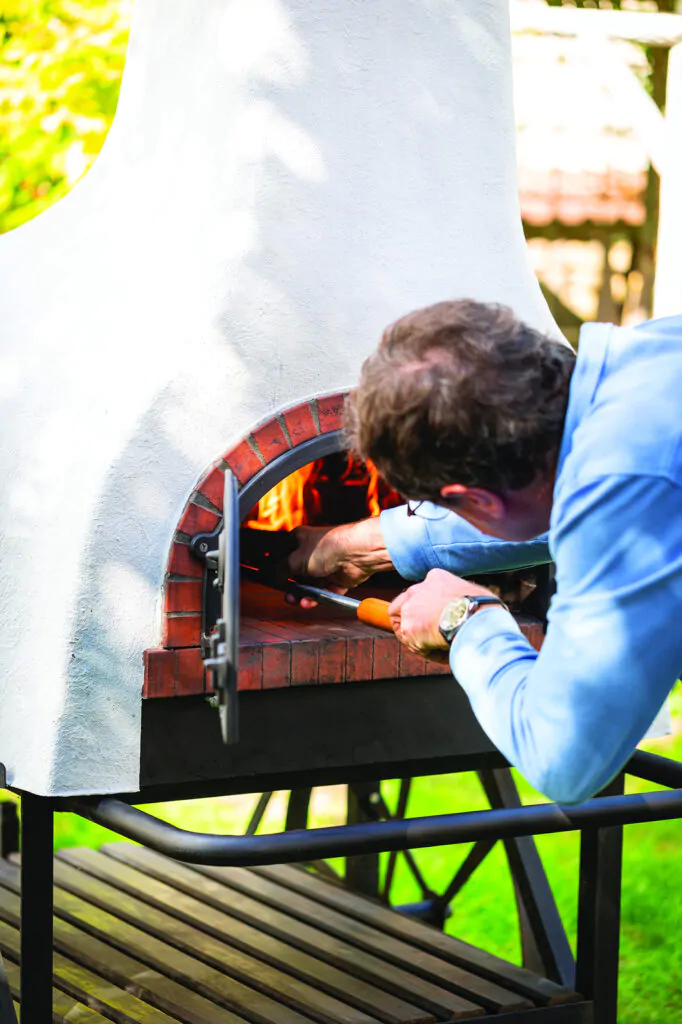
Flour the shovel before placing your loaves on it. Scrape or nibble (with a razor blade) the top of the bread dough with a sharp blow. These cuts create "weaknesses" in the bread crust. This allows water vapour and CO2 to escape, similar to a chimney, and allows the bread to rise.

Put the two loaves of bread in the oven on the floor, after having been drained.

At the beginning of the baking process, add steam, either with a steam gun for 3-4 seconds, or by leaving a bowl of boiling water inside the oven. Adding moisture at the beginning of the baking process prevents the dough from drying out on the surface. A good level of humidity also delays the formation of the crust and makes it thinner and shinier.

When the oven is at 250 °C, close it with the insulating door and the nozzle flap closed.

Bake for 20-25 minutes. Do not open the oven during this time, as the bread must be baked in a closed oven.

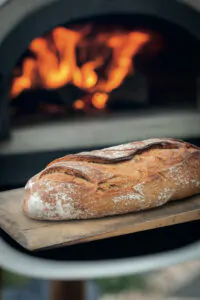
To check if the bread is cooked, tap it with your finger. If it sounds hollow, it is ready. If not, it deserves a little extra time in the oven.

Once your bread is cooked, place it on a rack and let it cool.

Bon appétit... and check out all our wood-fired oven recipe ideas here!


Good to know: if you are lucky enough to have a garden, you can reuse the cooled ashes in your vegetable garden or at the foot of your rose bushes. The ashes are rich in elements that promote plant growth.

COMMENTS

No customer comments for the moment.

Add a comment